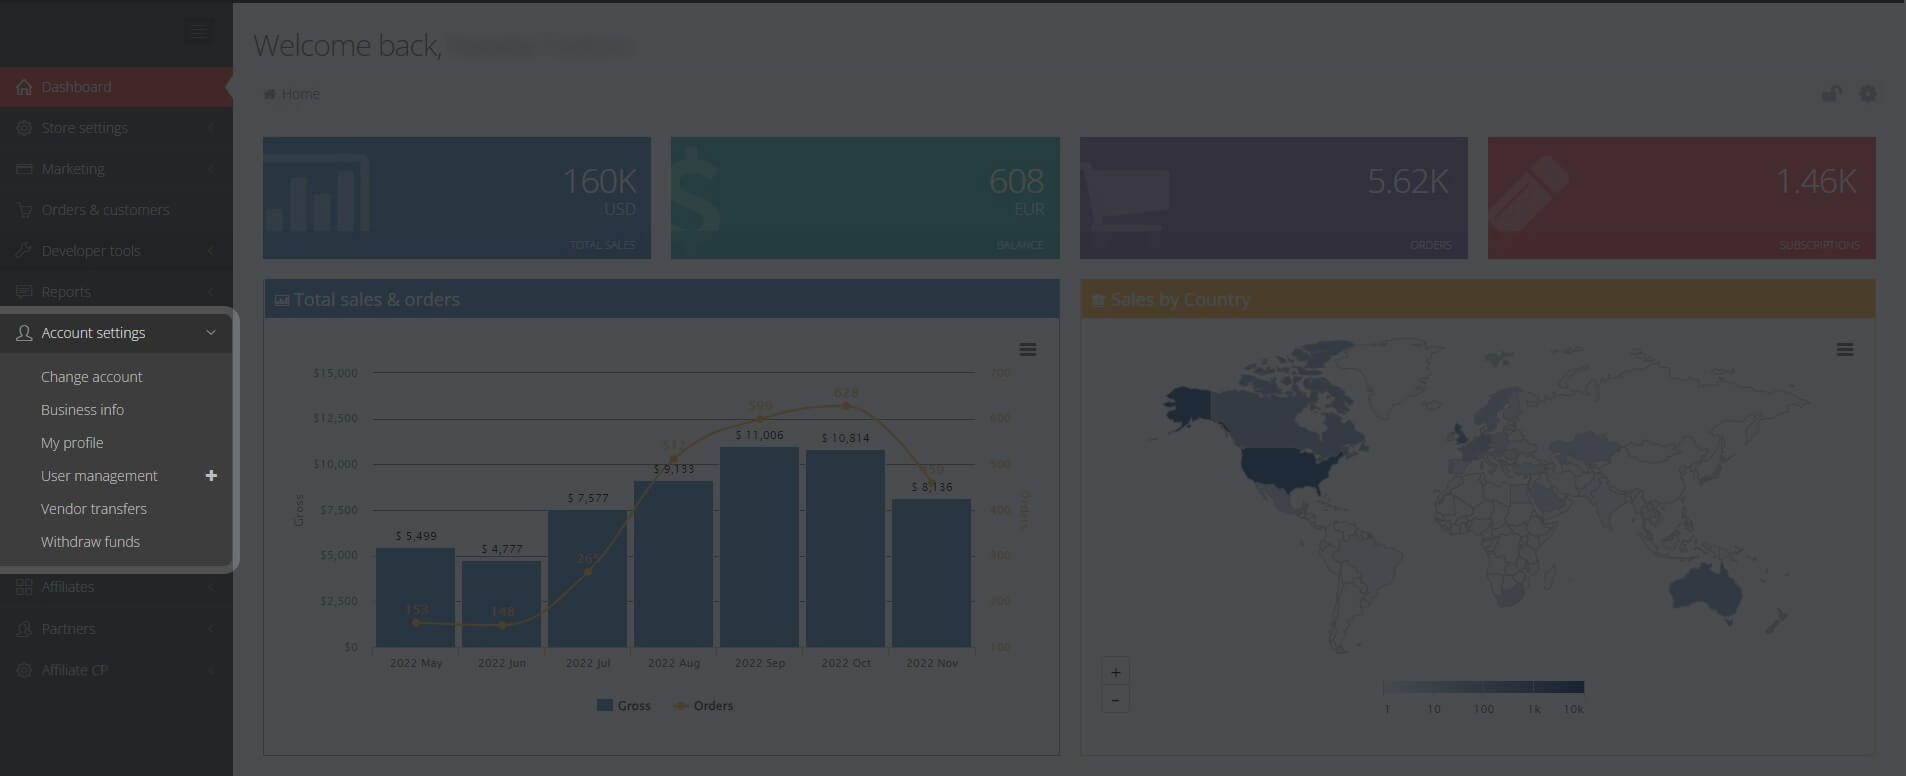
Account Settings Section Overview
Under Account Settings, you can access the options & controls for multiple areas: business information, your profile, user management, vendor transfers, and funds withdrawal.
Screenshot
Change Account
You can see all accounts in which you are involved as a user and easily switch between accounts by clicking Select on the appropriate account. This section has the following columns:
ID: PayPro Global account identification number
Vendor ID: PayPro Global vendor identification number
One vendor ID can have multiple accounts and one account can have multiple users.
Company name: displays the company name of the PayPro Global account
Business Info
This sub-section consists of 3 tabs: business details, primary contact, and agreements.
Such business details can be accessed and edited here:
- PayPro Global account ID
- Company name
- Public company name - The name provided here overrides the company name and can be used on the checkout/thank you page and in the emails intended for end user communication. Please contact us at [email protected] if you want to set-up the public company name for customer communication.
- Business type: company/individual
- PayPro Global agreement ID
- PayPro Global agreement date
- Website URL
- Tax ID
- Country/city/address/zip code
Under Primary contact the personal details (first and last name, phone, email, country/city/address/zip) of the primary account user can be accessed.
In the Agreements tab, you can see your active agreement with PayPro Global which can be downloaded as PDF.
My Profile
This is where you manage the Control Panel access. Here you can change your login information (username and password) along with user contact details (not vendor account). You can enable the additional account protection with Google Authenticator. To use Google Authenticator you need to download the Google Authenticator application from Apple AppStore or Google Play, scan the QR code and follow the instructions on your phone.
User Management
Access to the system is managed here, allowing you to have various users and give distinct user management rights for each individual user in your system. This sub-section is divided into 2 tabs: Users & Roles
Under Users you can view the list of all account users and immediately see the type of user or administration roles they have. You can add a new user by clicking on Add new user and filling in the username and other contact information. After saving the information, the user will get a welcoming email with the link to create the password.
Under Roles you can see the list of all roles currently available in your account. There're four default roles that you can assign to your users:
Screenshot
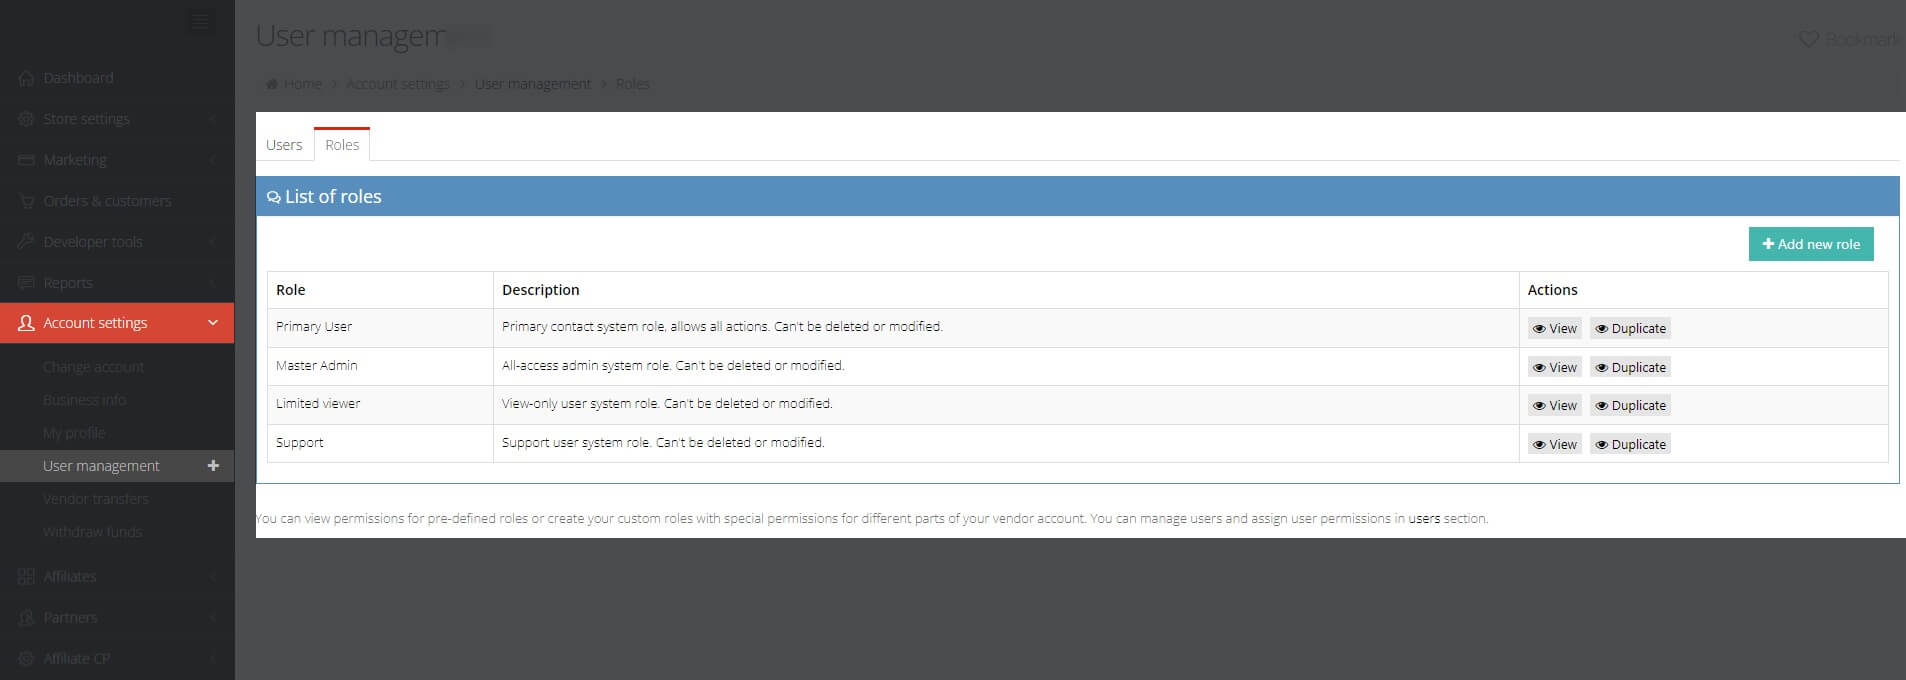
You can view the account access permissions these roles have in Actions -> View. To create a new role with custom permissions click on Add new role button.
Only one person can be the account primary user and only he can change the roles for the existing users in the account.
Vendor Transfers
This is the ultimate tool for vendor-to-vendor transfers.
Screenshot
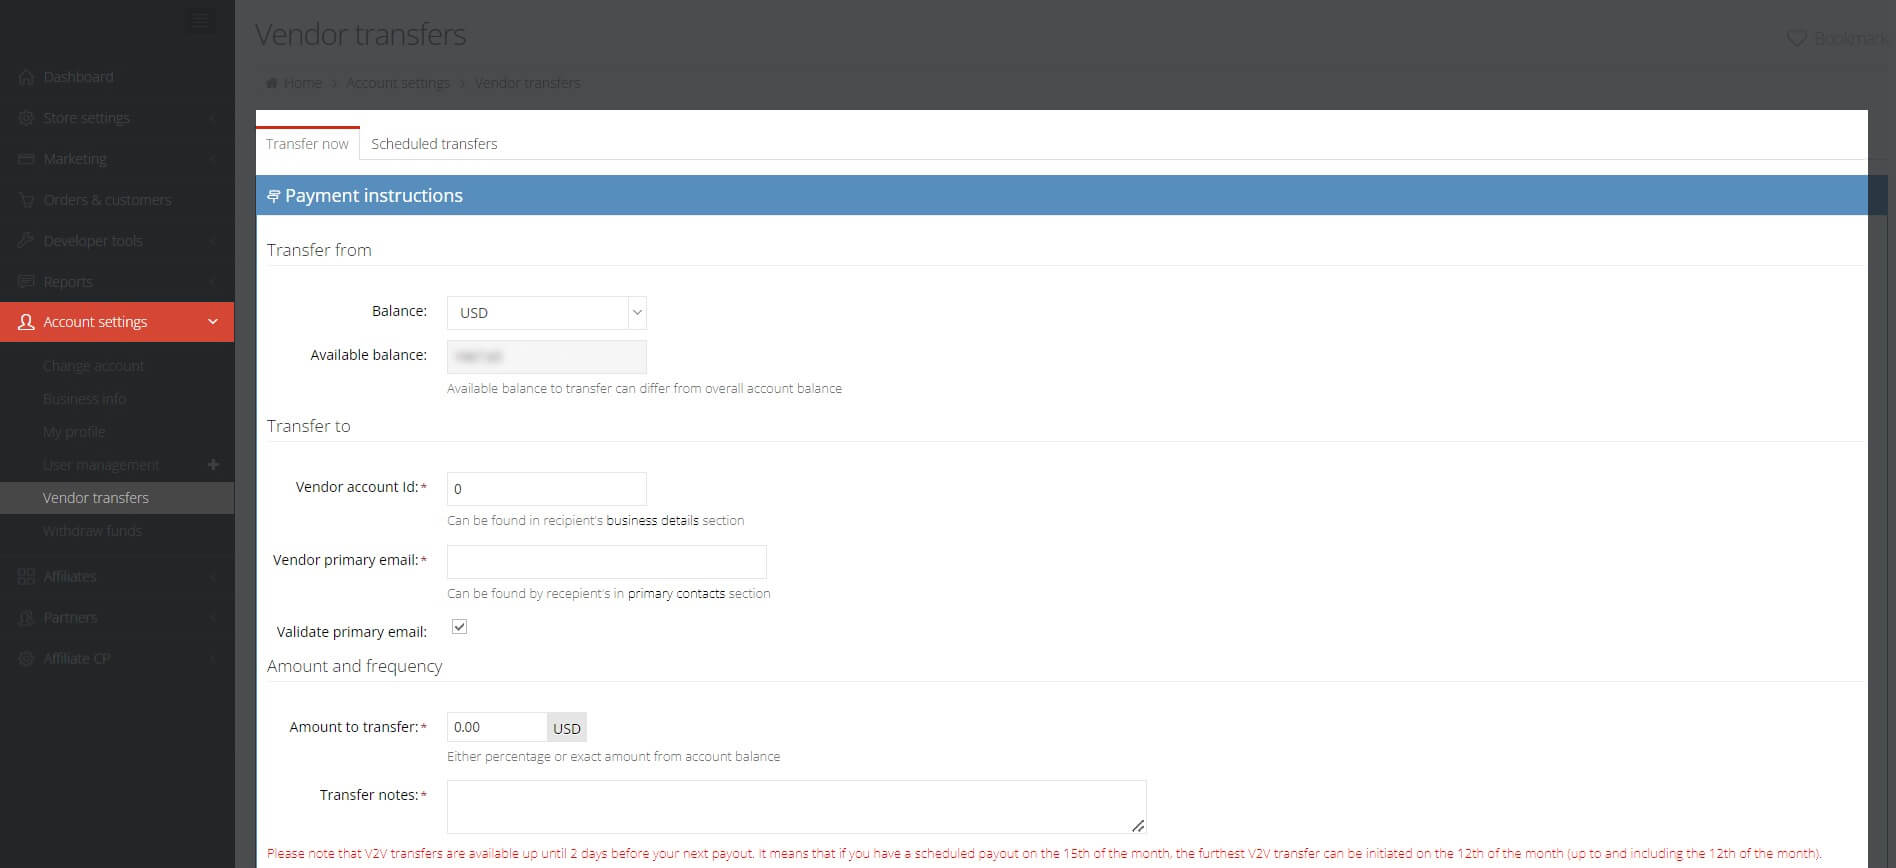
All you need to do is to mention the amount and the recipient details (account ID number and email). You also have the option to initiate real-time transfers or scheduled transfers.
V2V transfers are available up until 2 days before your next payout. It means that if you have a scheduled payout on the 15th of the month, the furthest V2V transfer can be initiated on the 12th of the month (up to and including the 12th of the month).
Withdraw Funds
Here you can setup your withdrawal accounts. For more information, go to our dedicated Withdraw funds area.