Lead Management Overview
Our lead management system allows you to optimize your online sales processes. Potential customers can be accurately targeted with direct messages designed to convert the lead into a successful sale.
The lead management system can be activated or deactivated at any time using the On/Off button located in this first panel.
Screenshot
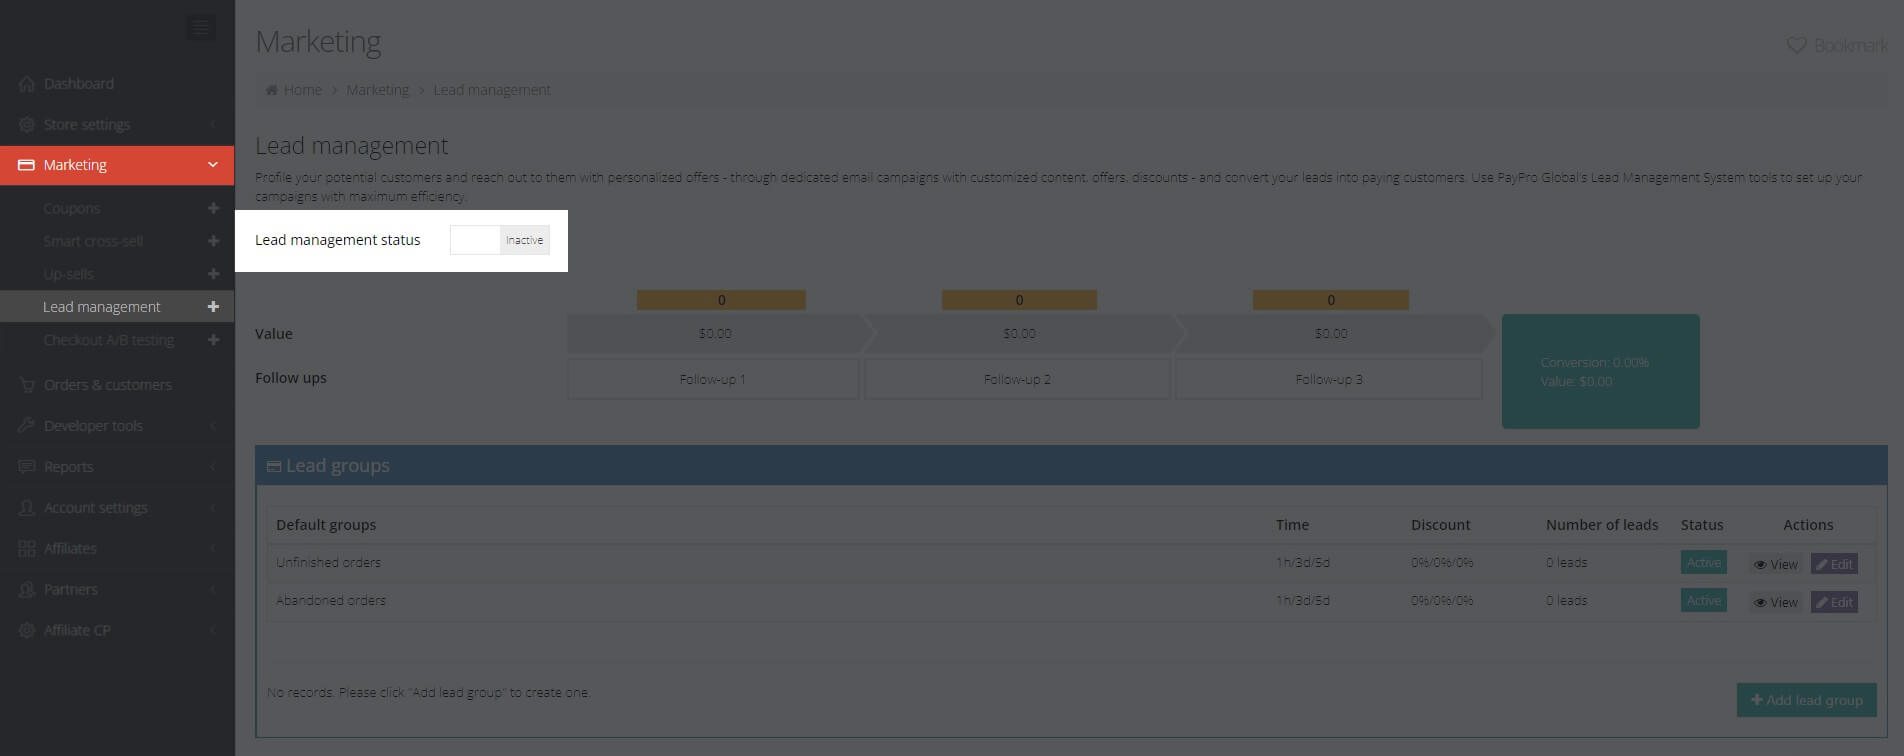
If you decide to deactivate it, the lead management campaigns will no longer be sent to your potential buyers.
Lead Management Data
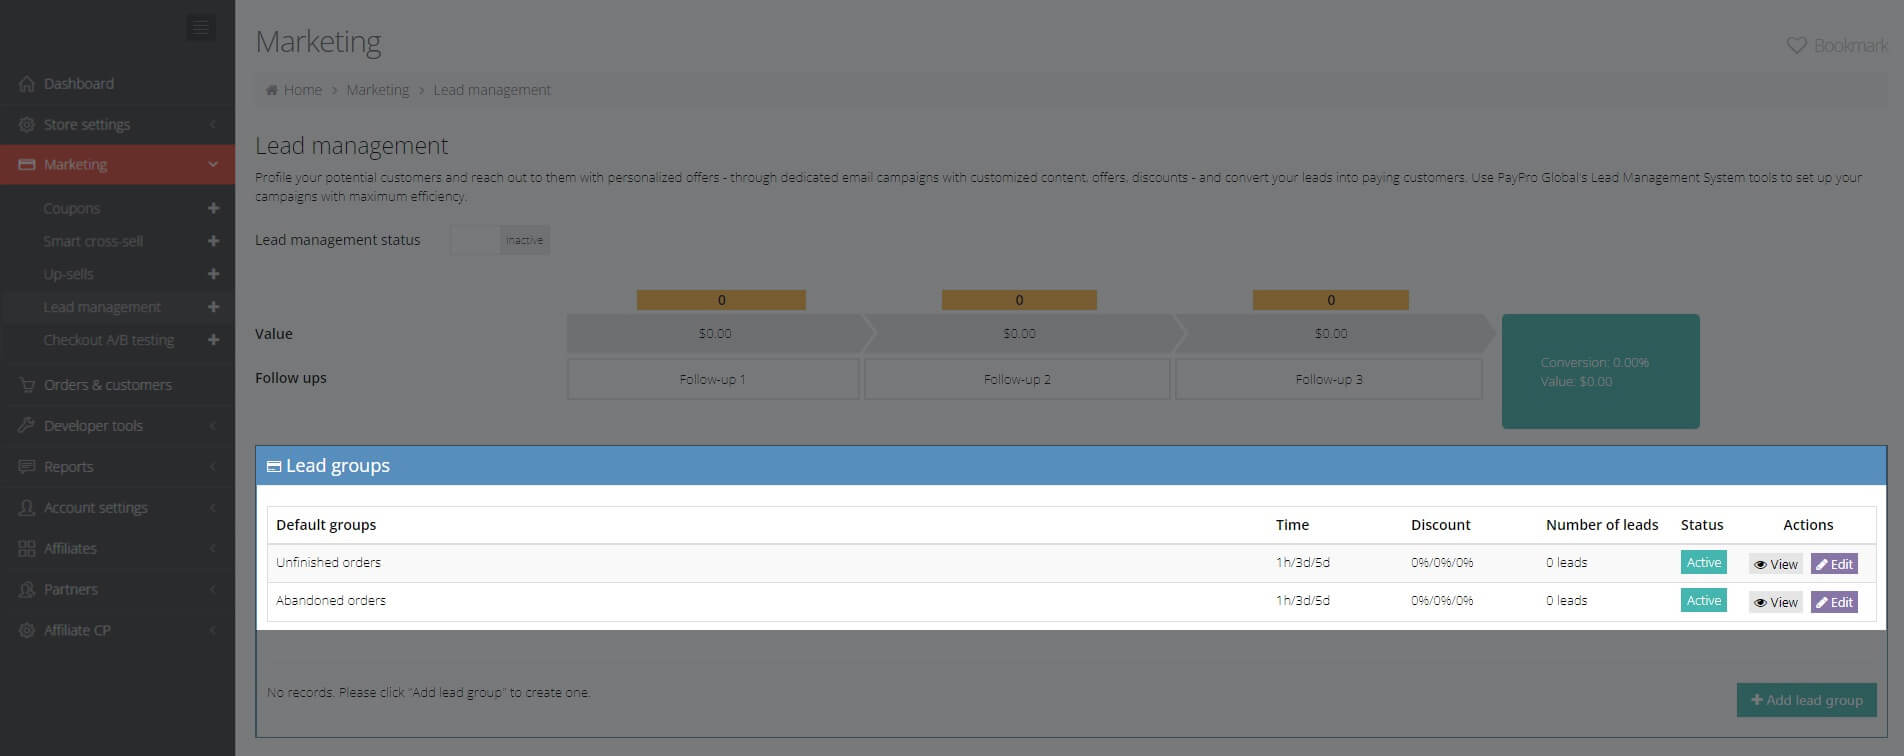
You can view your current lead management data using the in-built dashboard. It features the following information:
- Value – the financial gain resulted in each step of the lead management campaign steps, as well as the overall results.
- Follow-ups – the number of lead management emails sent for each step of the lead management campaign.
- Conversion – the overall success rate of your lead management campaigns, measured as the percentage of targeted potential buyers who have made a purchase after receiving your lead management emails.
Screenshot

Lead Targeting
Default User Groups
We have identified two types of user groups that are targetable through our lead management system, and their profiles are available in the dashboard by default:
- Customers with unfinished orders - these buyers have tried to place orders on the checkout page, but their purchase was canceled for some reason. The reasons may include card issuer decline, or not proceeding with the security confirmation when purchasing with PayPal or other similar payment methods.
- Customers with abandoned orders - the buyers who enter their email addresses on the checkout page but close the page without completing the purchase.
The number of leads available in your catalog is constantly updated and displayed in this section, along with the time the email is sent, the discount percentage offered, and the status of each group.
You can see the list of leads by clicking on the View button.
Screenshot
Each list of leads contains the following information:
- customer name
- date
- product
- country
- lead group
- follow-up status
- email status
- processed order
In this screen, you can unsubscribe the lead from the follow-up direct emails here.
These are the default groups. If you choose to use the default groups, your customers will receive our default lead management email templates which can be accessed in the Email management section.
Click the Edit option to set when you want the emails to be sent and the discount percentage awarded.
Custom User Groups
To further refine your lead targeting, you can create custom lead groups by clicking the Add Lead Group button. This will open a two-step setup wizard.
Step One: Define Your Groups
In the first step, you will be asked to define a set of parameters for your new group:
| Status | Choose between Active and Inactive. |
| Campaign name | The name of your campaign. Choose a name that will make this campaign easy to identify in the future. |
| Campaign description | Details about your campaign including the source of your leads, your campaign products, the targeted language, and your leads' country of origin. |
| Instant Lead Notification (ILN) | If you are using a webhook alert system, enter the required URL for the ILN here. This allows us to send you instant alerts and status updates for your leads campaign. |
| BCC email | Enter your email address if you want to receive a copy of the lead email to your email address. |
| Use web template as default | Activate this option if you want to use the default web page template for this lead campaign. |
| Source lead | Select which group of leads you will target through this campaign. The options are:
|
| Override previous coupon discounts with lead discounts | Enable this option if you want to provide the customer only with lead discounts. Previous coupon discounts, that the customers may have applied on the checkout page, will be disabled during the lead purchase. |
| Products | Select the products to be included in this campaign. |
| Language | If you plan on narrowing the coverage of your leads campaign to a specific group of users based on their system language, select that target language here. The campaign will include all supported languages by default. |
| Country | If you wish to further narrow the coverage of your campaign to the addresses of users from a specific country, please select that target country here. |
This concludes the first step in creating your lead group. Let's move on to step two.
Step Two: Create Custom Emails
Our lead management system can accommodate a maximum of three sequential email notifications in any lead management campaign. To add a new email, click the Add email button. You can send one, two, or three follow-up emails to convert your site visitors into buyers.
The content of your lead management messages is the critical factor in converting your target audience into buyers. You can choose between a predefined template and creating your very own custom email content, which can be completely personalized according to your strategy and the profile of your target audience.
To create a custom email template, click Create custom follow-up email. On the following page, choose Email type: Lead management to proceed with the email content creation.
Lead Management A/B Testing
You can gain further insight into your conversions by activating the A/B Testing option.
Screenshot
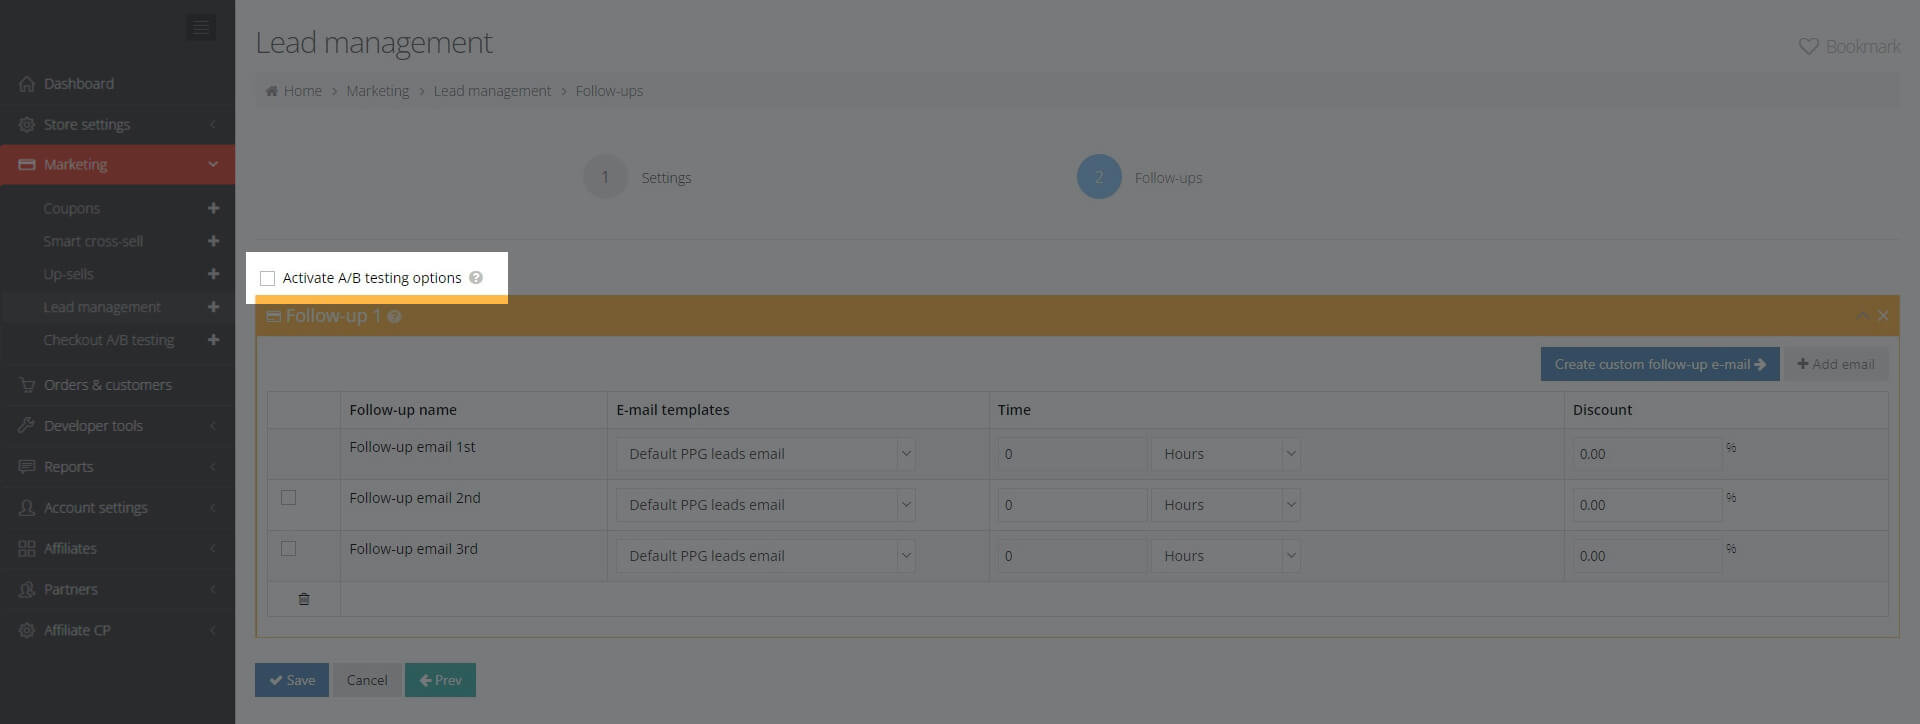
Our A/B testing functionality helps you test the effectiveness of your campaigns against four criteria:
- A specific conversion rate - the target number of leads converted to buyers
- A specific revenue level in the currency of your choosing
- A specific number of unique leads generated a fixed number of unique visitors on your Checkout pages
- The results generated within a specific time range, as defined by you
You can associate these performance criteria with a specific action in your cross-sell campaigns. To do so, activate the Keep the best performing offer when the test ends option.
To add another set of follow-up emails for testing, click the Add test follow-up option. A new block of emails will be added at the end of the list.
Alternatively, you can continue running a specific lead management campaign from those you have already created by selecting it from the drop-down.
You can define your lead generation groups prior to the actual start date of your campaigns, keeping their status inactive until the moment you start running these campaigns.